Buiding a House
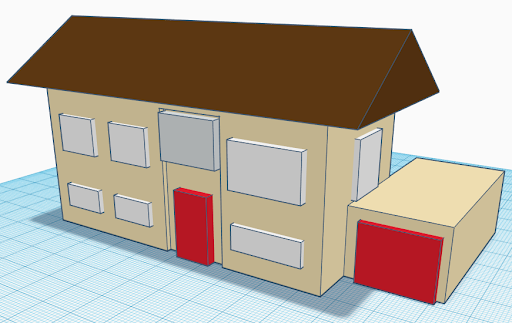
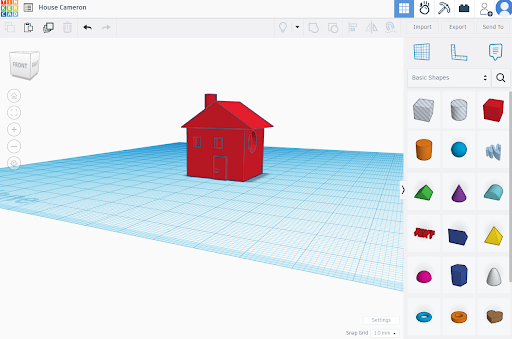
Here is an example of a project-based learning activity with 3D modelling. For example, a special unit on architecture could culminate with students designing and creating a 3D model of a building. Create a simple model of the exterior of a house or building you are familiar with.
- Add the required shapes, add a cube “box and a triangle “roof” to your building area
-
Raise the roof to place it overtop of the box. To do this use the black arrow pointing upwards until it reaches the top of the box. Click on a different spot of the roof and drag it over the box.

-
We won’t worry about the alignment, but for more complex levels you could use the align button here.
-
To add windows and a door, “boxes” can be adjusted to desired size by pulling in the ends and duplicate the boxes by selecting the duplicate option.

- You can either indent it by creating a small hole and clicking the greyed out colour or select the color black as show in the video.
- You can also make them stick out by making the boxes wider by using the white side corners.